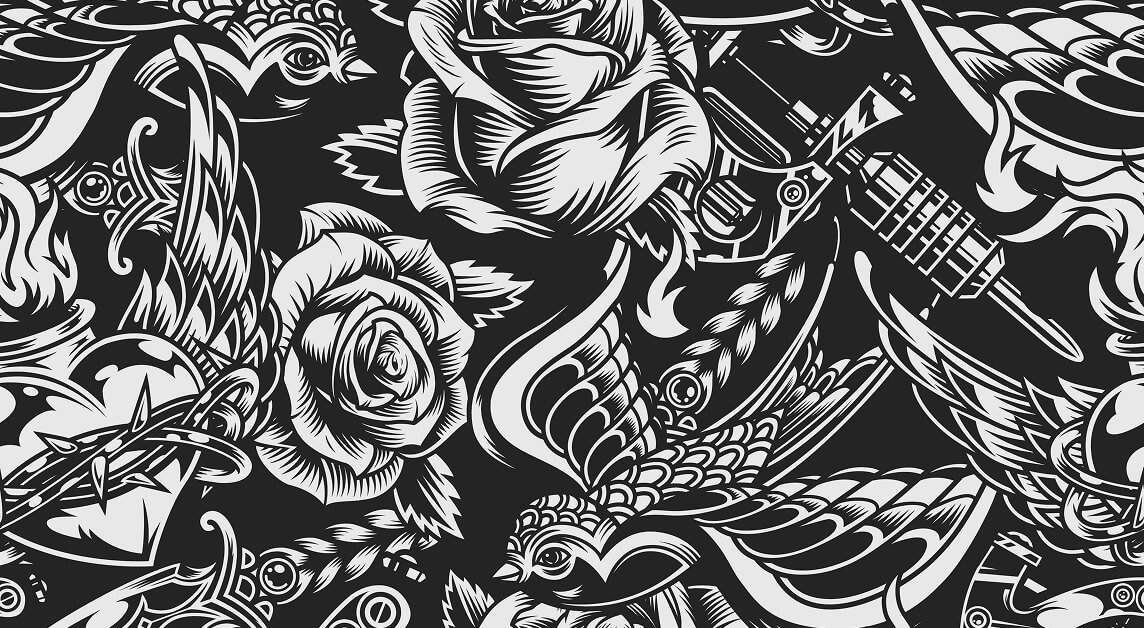
First-Time Tattoo Guide
A step-by-step guide to your tattoo journey
Introduction
You’ve always wanted a tattoo, but you don’t know what to expect? Don’t worry—we’ll walk you through the entire tattoo process from start to finish. Whether it’s your first time getting a tattoo or you’re adding to your collection, understanding each step can help you feel confident and prepared.
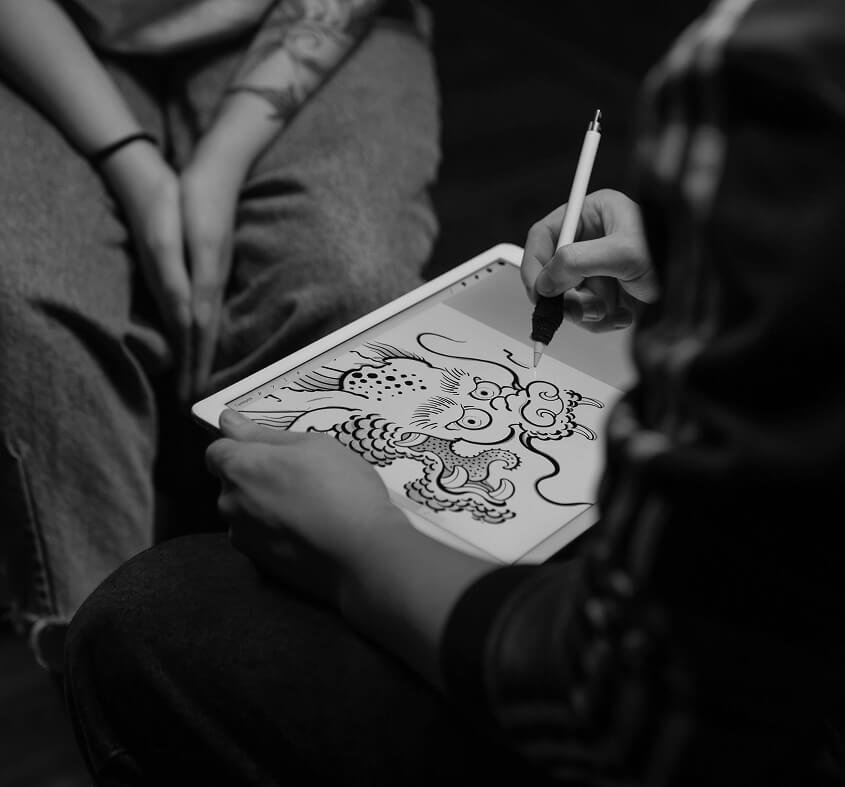
How to Create the Perfect Tattoo Ideas
At Burned Hearts Tattoo, we love turning your ideas into stunning, meaningful art! Whether it's your first tattoo or your tenth, here are some tips to help you brainstorm and refine your perfect tattoo design.
-
Think about what you love! Your tattoo can represent your personality, memories, beliefs, or even just a design that looks amazing. Here are some ideas to spark inspiration:
✔ Personal Meaning – Names, dates, symbols, or quotes that hold significance.
✔ Nature & Elements – Flowers, animals, landscapes, or celestial designs.
✔ Cultural or Spiritual Symbols – Mandalas, mythological creatures, or tribal patterns.
✔ Artistic Styles – Realism, anime, traditional, geometric, fine-line, black & gray, or color tattoos.
✔ Pop Culture & Fandoms – Favorite characters, movies, books, or games. -
Google is a great tool for finding inspiration, but searching the right way makes all the difference! Try these tips:
🔍 Use specific keywords – Instead of "flower tattoo," try "fine-line floral forearm tattoo" or "black & gray rose sleeve tattoo."
🖼 Go to Google Images & Pinterest – Scroll through high-quality designs and save what you like.
🎭 Explore different styles – Search for styles like "minimalist tattoos," "traditional skull tattoos," or "watercolor phoenix tattoo."
📌 Check Instagram & TikTok – Many tattoo artists showcase their work on social media. Try searching hashtags like #TattooIdeas, #CustomTattoo, or #FineLineTattoo. -
If you have multiple ideas and want to see them blended together, try using an AI image creator to visualize your concept. BUT! Be sure to ask it for a "tattoo design"—otherwise, it may generate a beautiful piece of art that won’t translate well into tattoo form.
🖥 How to use AI for tattoo designs:Use an AI art generator like DALL·E, Midjourney, Bing AI Image creator or Leonardo.AI.
Enter a detailed prompt like: "Black and gray tattoo design of a wolf with a clock and roses, fine-line style, shaded for tattooing."
Adjust and refine until you find something that works, then show it to your tattoo artist for customization.
Remember: AI can create a great starting point, but a professional tattoo artist will refine it to ensure it works on your skin!
-
If you’re getting names, quotes, or script tattoos, font choice is key! A great way to preview different styles is by using 1001fonts.com. 🖋 How to use it:
Go to 1001fonts.com and type your text in the preview box.
Browse through hundreds of font styles, from elegant script to bold gothic lettering.
Screenshot or save your favorites to share with your tattoo artist.
-
The placement of your tattoo can influence its design. Some things to think about:
🎨 Smaller tattoos are great for wrists, fingers, ankles, and behind the ear.
💪 Medium to large tattoos work well on forearms, thighs, shoulders, and calves.
🖤 Full pieces (sleeves, back, chest) allow for intricate, detailed work.
Read our article: Hand and Finger Tattoos, What’s The Truth Behind Them.
Want to start small? Go check out our $100 Flash -
Do you want bold outlines or soft shading? Bright colors or black & gray? A delicate fine-line tattoo or a bold traditional design? Bring in references or talk to your artist about what speaks to you.
-
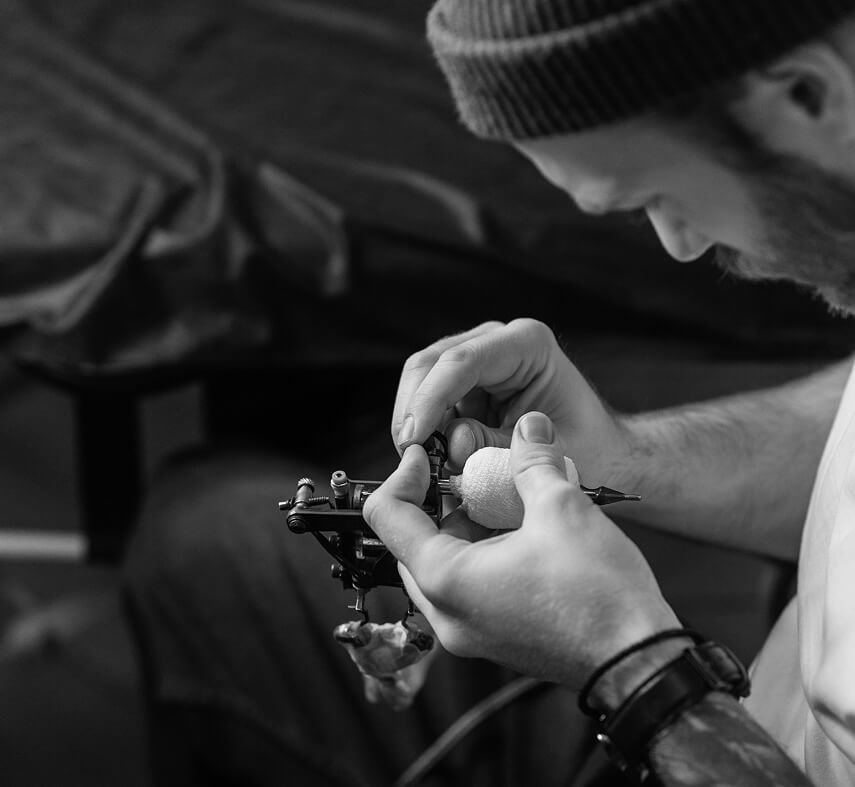
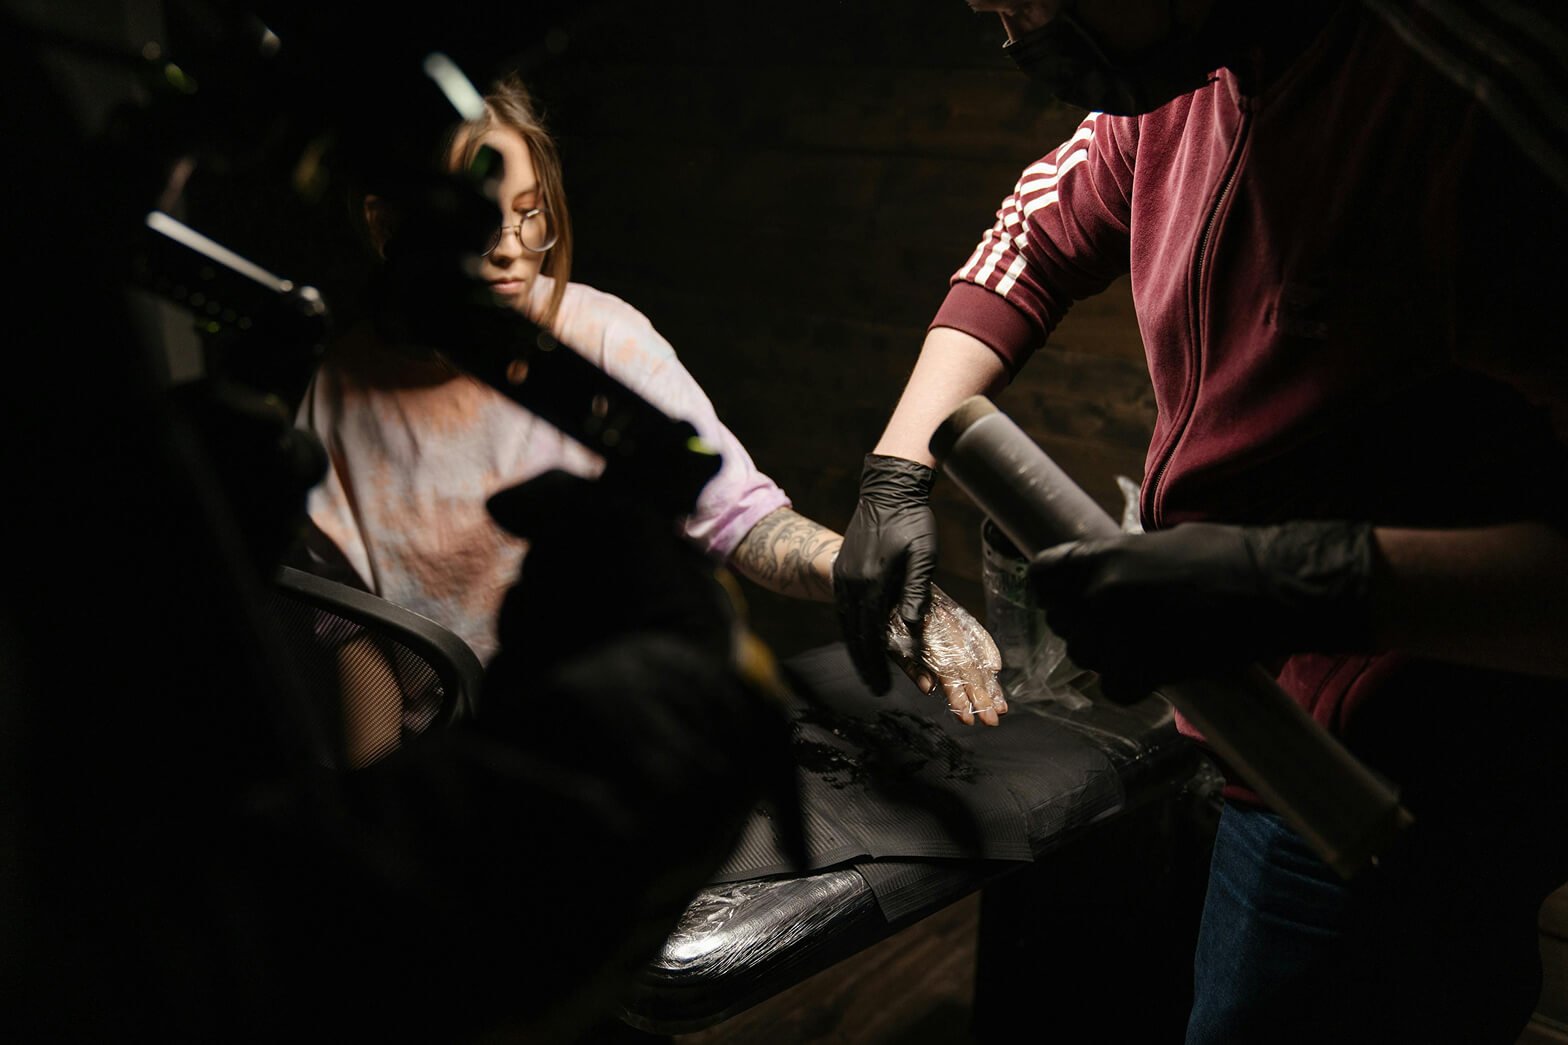
Call or text Burned Hearts Tattoo at 614-547-3892, and we’ll help you identify the perfect artist to bring your tattoo to life! We will ask questions to estimate the time the artist wants for the appointment (and how many sessions will be needed), estimate the cost, and match you with the best artist for your design that fits your availability and budget.
-
Every tattoo artist has their own rate, speed, preferences, techniques, and tools. Because of this, if you're getting matching tattoos, we will ensure they are done by the same artist so they look as similar as possible. Differences in technique or style between artists could result in noticeable variations, so we always match the right artist to your vision.
-
A tattoo is permanent, so don’t rush the process. Sit with your idea for a while to make sure it’s something you’ll love forever. If you’re unsure, we’re happy to tweak the design until it’s just right!
“There is no such thing as a tattoo emergency.”
-
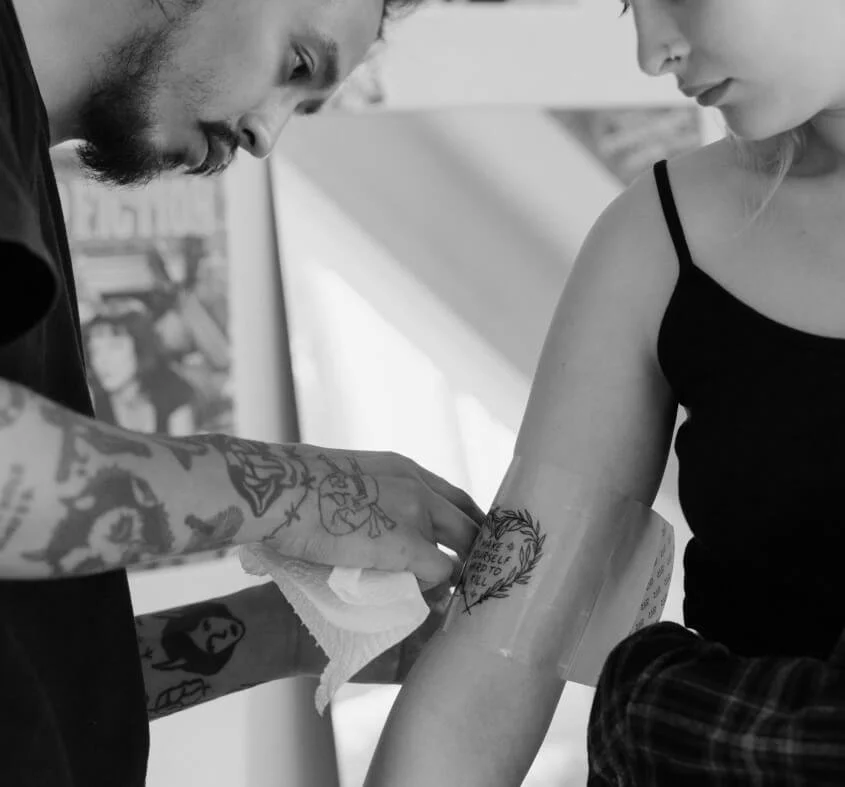
Once you’ve settled on your idea, trust your artist’s expertise. Placement, line thickness, and shading may be adjusted slightly to ensure your tattoo ages well and looks incredible over time.
Let’s Make Your Vision a Reality!
At Burned Hearts Tattoo, we’re here to guide you through the process and create a piece of art you’ll be proud to wear. Ready to get started? Book a consultation today!
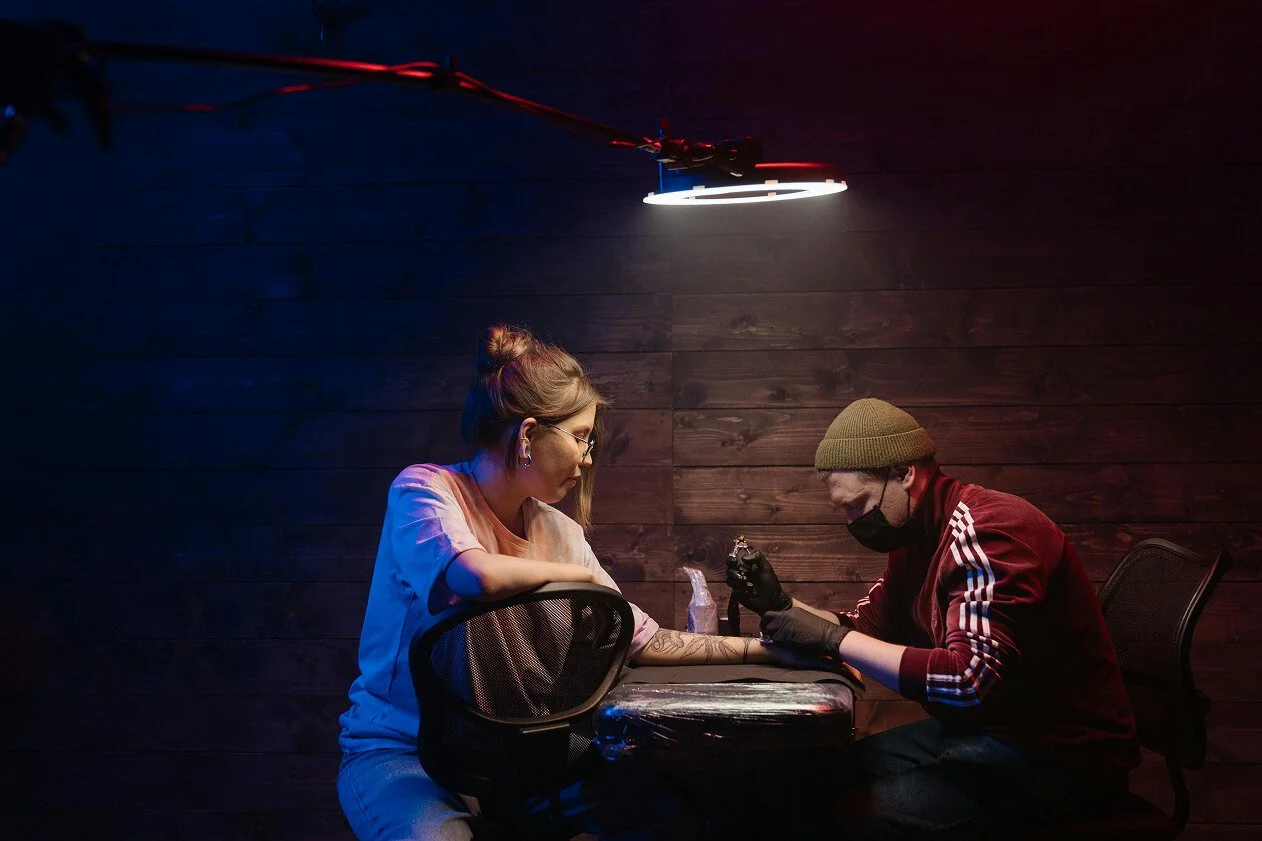
Preparing for Your Tattoo Appointment at Burned Hearts Tattoo
Getting a tattoo is an exciting experience! Proper preparation ensures the best results and a smooth healing process. Follow these steps before your appointment:

-
Drink plenty of water in the days leading up to your appointment.
Get a good night's sleep to help your body handle the process better.
-
Eat a solid meal at least 1-2 hours before your session.
Avoid consuming alcohol or excessive caffeine, as they can thin your blood.
-
Arrive fresh and clean—shower before your appointment to remove any dirt, sweat, or lotions from your skin.
Do not apply any heavily scented lotions or perfumes.
-
Choose loose-fitting clothing that allows easy access to the area being tattooed.
Avoid tight or abrasive fabrics that may rub against your fresh tattoo.
-
Moisturize the area regularly leading up to your appointment.
Avoid excessive sun exposure or tanning before your session.
-
A valid ID (required for all clients).
Any reference images or ideas for your design.
Headphones or entertainment if you have a long session.
-
If it helps with comfort, feel free to bring a friend or family member for moral support.
Keep in mind that space may be limited in the tattoo area.
-
Both parent and minor must bring a government issued photo ID.
A parent or legal guardian must be present for any minor getting tattooed.
A signed Minor Consent Form is required. (Available at Burned Hearts Tattoo).
Link to minor consent form and notary form: Click Here
-
Many people worry about tattoo pain, but most describe it as more annoying than painful. There are pain relieving sprays and other products that can help deal with the pain that are available online.
The sensation varies based on placement, but it is rarely as bad as you think it will be.
The worst part is often the anticipation—once the tattooing starts, most people relax into the feeling.
-
Numbing cream can help dull the sensation of tattooing, but it is not guaranteed to work for everyone. If you plan to use numbing cream, here’s what you should know:
How to Apply Numbing Cream Properly:
Choose a reputable numbing cream (best options listed below).
Apply a thick layer over the tattoo area one hour before your appointment.
Wrap the area in saran wrap to help the cream absorb into the skin.
Your artist will remove the wrap before applying the stencil.
Possible Side Effects of Numbing Cream:
Temporary redness or irritation.
Increased skin sensitivity, which may cause more discomfort later in the session.
Reduced ink absorption, which could affect healing.
Best Numbing Creams to Use for Tattoos:
Zensa Numbing Cream(Lidocaine 5%) – highly recommended for tattoos.
Dr. Numb (Lidocaine 5%) – effective but may wear off quickly.
Hush Anesthetic Gel – made specifically for tattoos and designed to last longer.
TKTX Numbing Cream – stronger formula, but some report mixed results.
-
We use Recovery Derm, a second skin wrap that protects your tattoo and helps it heal faster.
The first wrap should last the entire healing process, but in rare cases, it may come off early.
You can purchase additional Recovery Derm ( 4 inches 10 pack , 6 inches 2 yard, 6 inches 8 yard or Tegaderm bandages at most pharmacies (CVS, Walgreens, Walmart) in case it needs replacing.
-
Be ready for mild discomfort, depending on the placement.
If you are feeling sick, reschedule your appointment to ensure the best healing conditions.
-
Stock up on fragrance-free lotion such as Aquaphoror Hustle Butter.
Get antibacterial soap for cleaning your tattoo (avoid scented or harsh soaps).
Avoid Neosporin, petroleum jelly, or Vaseline as they can affect healing.
Plan to avoid swimming, tanning, or heavy sweating for at least two weeks.
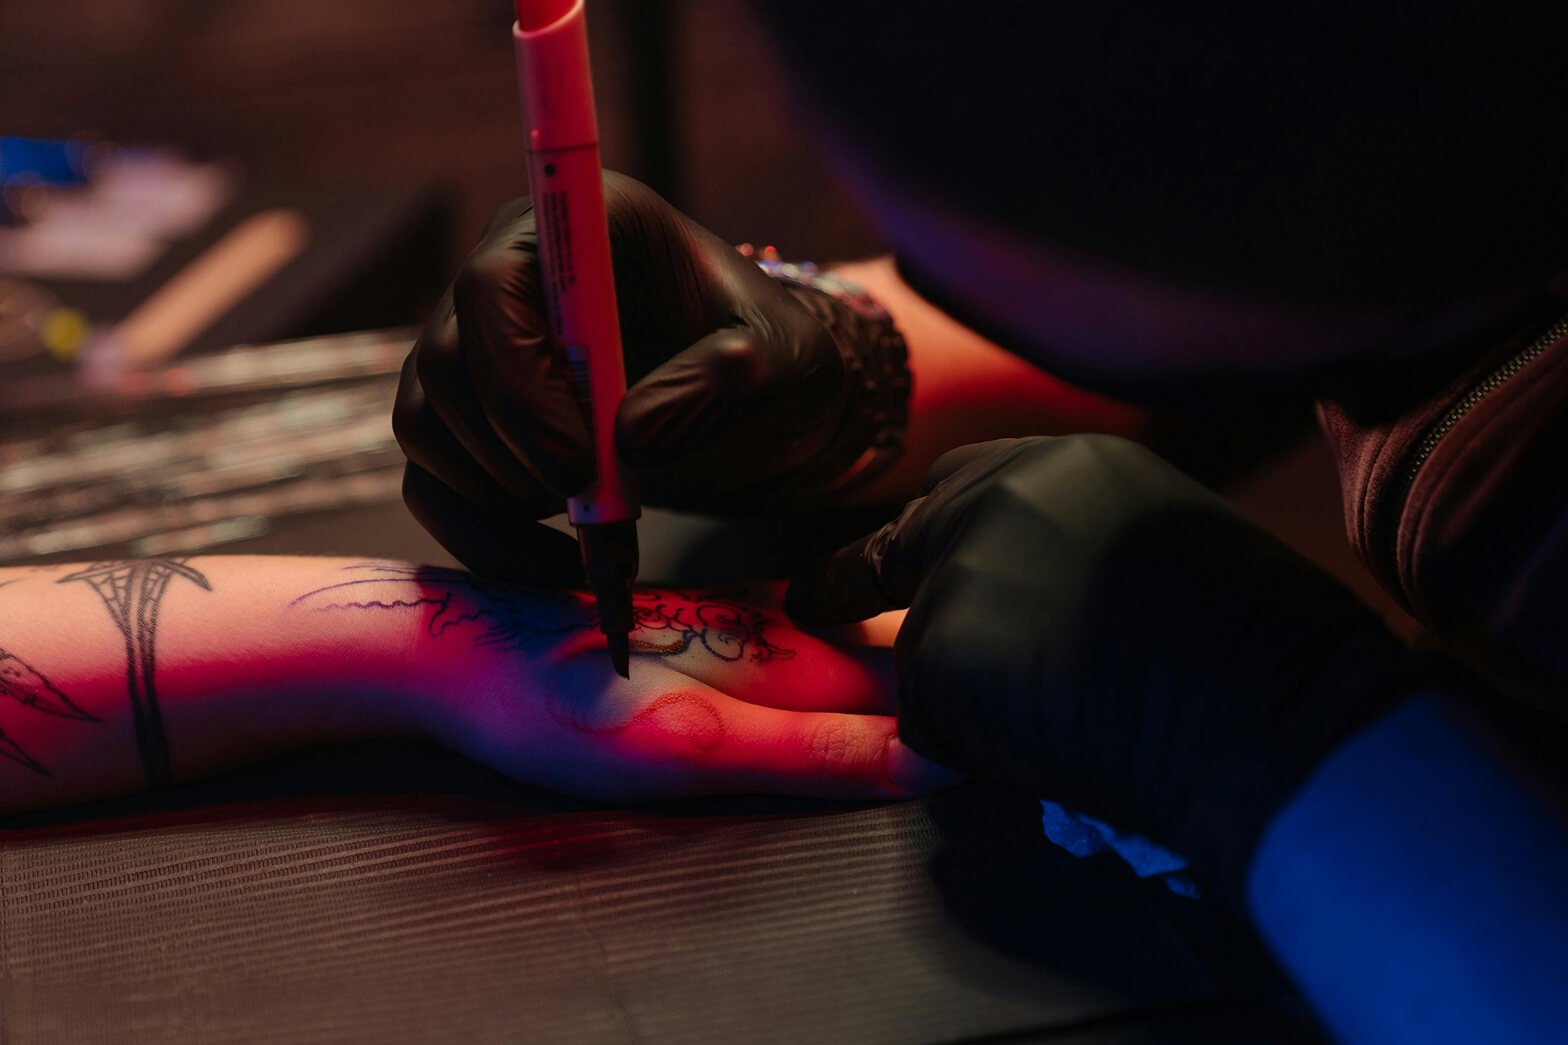
During the Tattoo Session – Dos and Don’ts
We have listed here a few dos and don’ts that should be followed during your tattoo session.

Do’s:
Arrive on Time – Show up on time for your appointment to respect your artist’s schedule.
Eat Before Your Session – A good meal beforehand helps prevent dizziness or fainting.
Stay Hydrated – Drink plenty of water to keep your body and skin in good condition.
Wear Comfortable Clothing – Dress in loose, comfortable clothing that allows easy access to the tattoo area.
Communicate Clearly – Let your artist know if you have any concerns or questions.
Follow the Artist’s Instructions – Listen to their advice on positioning and keeping still.
Take Breaks if Needed – If you feel uncomfortable, don’t hesitate to ask for a short break.
Trust the Process – Your artist is a professional, so allow them to do their work.
Bring Entertainment – A book, podcast, or music can help pass the time during long sessions.
Respect the Studio’s Policies – Follow all studio guidelines regarding hygiene, payment, and safety.
Do Talk – Conversation is welcome unless your artist asks for silence due to the tattoo’s placement.
Do Livestream – Feel free to share your experience with friends and family through a livestream.
Do Ask for Refreshments – We provide free drinks, snacks, and candy to keep you comfortable and happy.
Dont’s:
Don’t Come Under the Influence – Avoid alcohol or drugs, as they can thin your blood and impact the tattoo process.
Don’t Bring a Large Entourage – One supportive friend is okay, but too many people can be distracting.
Don’t Move Unnecessarily – Sudden movements can cause mistakes or accidents.
Don’t Ignore Your Artist’s Advice – If they suggest changes for better healing or placement, consider their expertise.
Don’t Touch Your Tattoo – Avoid unnecessary touching to keep bacteria away.
Don’t Rush the Artist – Good tattoos take time, so be patient.
Don’t Bring Small Children or Pets – Studios are not safe environments for them.
Don’t Neglect Aftercare – Proper care ensures your tattoo heals well and looks its best.
Don’t Tan or Sunburn Before the Session – Damaged skin will not take ink well.
Don’t Expect Instant Perfection – A fresh tattoo will go through different healing stages before looking its best.
Do Not Touch – Avoid touching tables, tools, equipment, or other people in the shop for hygiene and safety reasons.
Do Not Sneeze – If you need to, turn away and use your elbow to prevent contamination.
Do Not Dance – Stay still to ensure precision and safety.
Do Not Scare Your Tattoo Artist – Sudden movements, loud noises, or pranks can cause mistakes.
Following these guidelines ensures a smooth and enjoyable tattoo experience while maintaining the highest standards of safety and professionalism.
Burned Hearts Tattoo Aftercare Guide
Now featuring separate healing timelines for the Recovery Derm Shield and Old Lotion Method, so you can follow the correct process based on your tattoo care choice.
Recovery Derm Shield Method (For those with a protective wrap)

01
What is Recovery Derm Shield?
A sterile, breathable, waterproof barrier that protects your tattoo.
Shields against bacteria, friction, and contaminants while trapping the body’s natural healing fluids.
Prevents ink from rubbing onto clothing and sheets.
You can shower normally, but avoid swimming or soaking the tattoo.
02
How to Use Recovery Derm Shield
Leave it on for 4-7 days, as instructed by your artist.
Removing the Shield:
Peel off under warm, running water to ease removal.
Any sticky residue can be removed with coconut oil, olive oil, or baby oil.
After Removal:
Wash the tattoo with antibacterial soap & warm water.
Apply an unscented lotion for the remainder of the healing process.
03
Where to Buy More Recovery Derm Wraps?
If needed, purchase Tegaderm bandages or similar wraps at CVS, Walgreens, Walmart, or any pharmacy in the band-aid aisle.
Healing Timeline for Recovery Derm Shield
Days 1-3 (Under the Shield)
🩸 What to Expect:
Your tattoo will feel warm and slightly swollen.
Some fluid build-up under the shield is normal—this may look like plasma, ink, or a cloudy liquid.
The tattoo might appear darker than expected due to moisture retention.
💡 What to Do:
DO NOT remove the shield early unless instructed.
You can shower normally, but avoid soaking the tattoo.
Days 4-7 (Removing the Shield)
🩸 What to Expect:
Your tattoo may look shiny, wrinkled, or slightly “wet” when the shield comes off.
Some peeling or slight flaking may occur after removal.
💡 What to Do:
Gently wash with antibacterial soap to remove excess fluids.
Start applying a fragrance-free moisturizer (Lubriderm, Aquaphor, or Hustle Butter) 2-3 times daily.
Avoid picking at flaking skin.
Days 8-14 (Peeling & Dryness Phase)
🩸 What to Expect:
The tattoo may begin flaking, peeling, or lightly scabbing—do not pick!
Some areas may feel dry or itchy as the skin regenerates.
💡 What to Do:
Keep moisturizing and avoid scratching.
Stay out of direct sunlight and avoid swimming.
Weeks 3-4 (Fully Healed Tattoo)
🩸 What to Expect:
The tattoo should now be smooth, vibrant, and fully healed.
If dryness persists, continue light moisturizing as needed.
💡 What to Do:
Apply sunscreen whenever exposed to sunlight.
Enjoy your tattoo!
Old Lotion Method (For those without Recovery Derm Shield)
01
Wash Your Hands before touching your tattoo.


02
Remove the Bandage after a few hours, then wash the tattoo gently with warm water & antibacterial soap.

03
Dry Gently with a clean paper towel—do not rub.

04
Apply Moisturizer Sparingly: Use a thin layer of fragrance-free lotion (Lubriderm, Aquaphor, A&D, or Hustle Butter) 2-3 times a day.

Healing Timeline for Old Lotion Method
Day 1 (Fresh Tattoo)
🩸 What to Expect:
Tattoo will look bright, bold, and swollen.
Some plasma, ink, and slight bleeding may occur.
Tattoo may feel warm and tender, similar to a sunburn.
💡 What to Do:
Wash with antibacterial soap and apply a thin layer of lotion.
Avoid excess lotion, as too much moisture can cause irritation.
Days 2-3 (Initial Healing Begins)
🩸 What to Expect:
Tattoo will still be red and slightly swollen, but this will start decreasing.
The area may feel tight, itchy, or slightly dry.
Some fluid buildup or minor scabbing is normal.
💡 What to Do:
Continue washing gently and applying lotion sparingly.
If the tattoo itches, use an ice pack—DO NOT scratch.
Days 4-7 (Flaking & Peeling Stage)
🩸 What to Expect:
The tattoo will begin flaking and peeling like a sunburn.
Some scabbing may occur, but do not pick at it.
Colors may appear dull or slightly faded—this is temporary.
💡 What to Do:
Continue moisturizing 2-3 times a day.
Wear loose, soft clothing to avoid irritation.
Days 8-14 (Final Stages of Healing)
🩸 What to Expect:
Most flaking and peeling should be done.
Tattoo may still be dry, slightly scabbed, or mildly itchy.
Colors will begin to look more vibrant again.
💡 What to Do:
Keep applying unscented moisturizer.
Avoid prolonged sun exposure and excess sweating.
Weeks 3-4 (Fully Healed Tattoo)
🩸 What to Expect:
Tattoo should look completely healed and vibrant.
Some areas may feel slightly raised for a few more weeks.
💡 What to Do:
Apply sunscreen to maintain vibrancy.
Keep the tattoo moisturized occasionally to prevent dryness.
What to Avoid 🚫
No Vaseline, petroleum jelly, or Neosporin—these clog pores and slow healing.
No picking or scratching—let peeling and scabs fall off naturally.
No soaking—avoid swimming, baths, or hot tubs for at least 2 weeks.
No sun exposure—avoid direct sunlight for 3 weeks, then always apply sunscreen.
No tight clothing that may rub or irritate the tattoo.
No touching by dirty hands—ensure anyone who touches your tattoo washes their hands first.
Extra Tips for Specific Tattoo Locations

For foot tattoos
Go barefoot when possible. If you must wear shoes, wrap the tattoo in saran wrap, then wear a cotton sock to prevent rubbing.

For large tattoos
Healing may take longer, especially on joints or high-movement areas (elbows, knees, ribs).

For color tattoos
May appear faded during healing, but colors will return as the skin regenerates.
Questions or Concerns?
If you experience infection signs (excessive redness, pus, fever, severe pain) or allergic reactions, contact a doctor immediately.